Home
Preparation
Empennage
Wings
Fuselage
Engine
Finish Kit
Favorite Links
W & B Calculator
Van's Aircraft
Email Me

|
 |
Finish Kit Update October 2010 Updates
October 17, 2010
Baffle Seals..... - 11.0 hrs
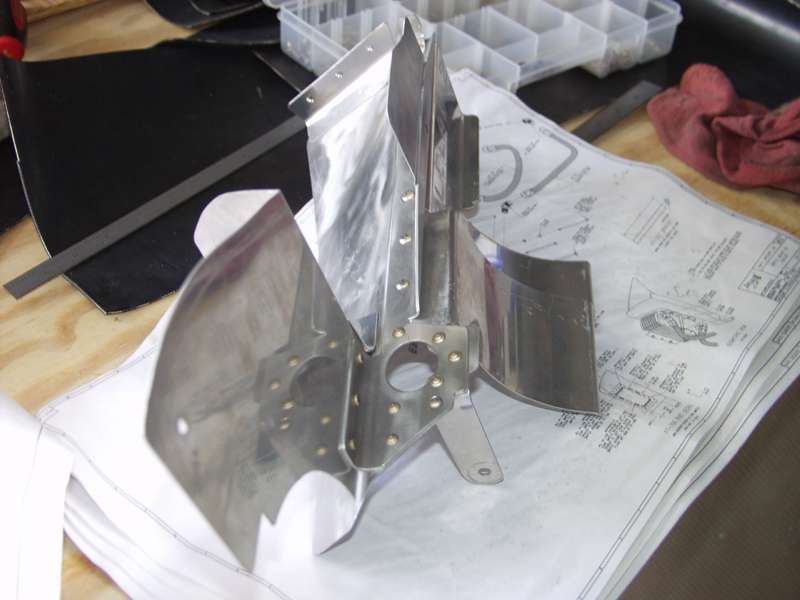
What a perfect weekend for building. Cool but not cold and never broke a sweat. It was past time to get the baffles done. I really didn't think the seals would take this much time but it did. Part of the issue was the front section still needed to be riveted together.
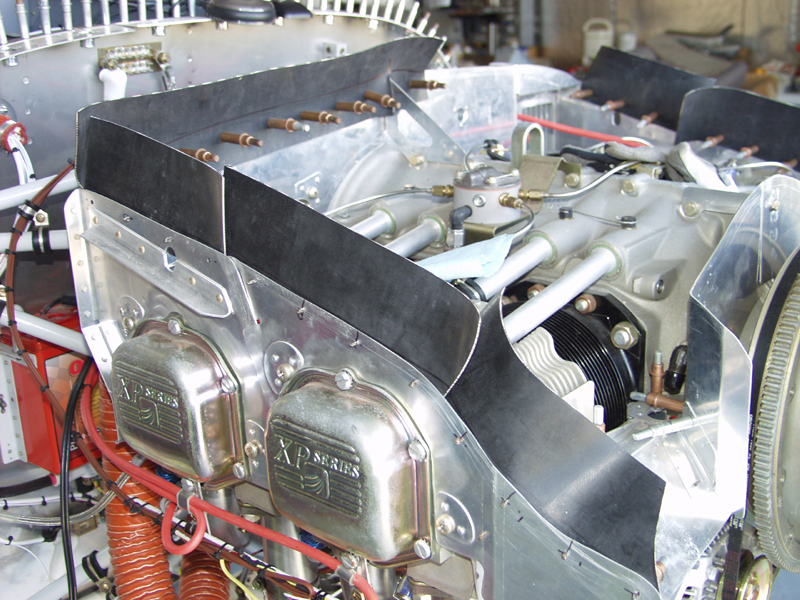
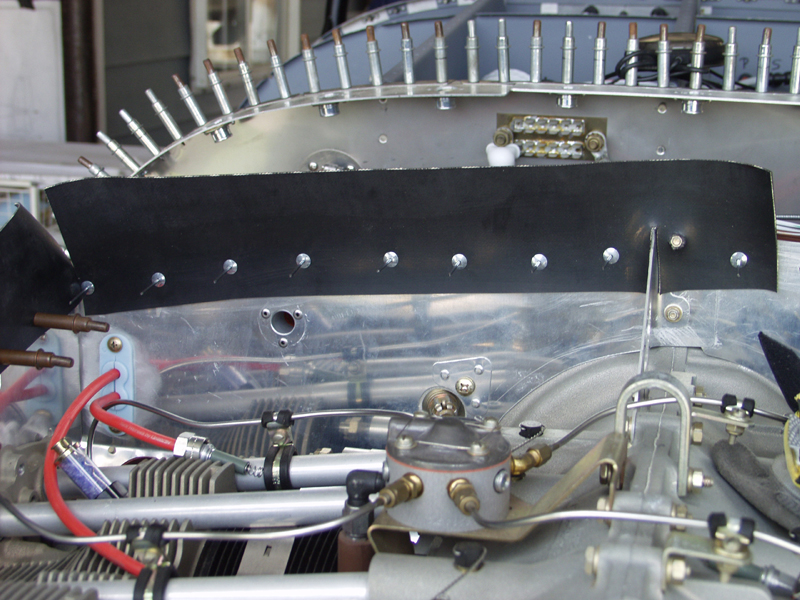
I started by drilling 2 holes in the back panel to run blast tubes to the magnetos. This constisted of mounting 2 of the 3/4 inch scat tube connectors I picked up. These get riveted over the hole facing aft and this gives you something to slide the scat tube over and clamp it in place.
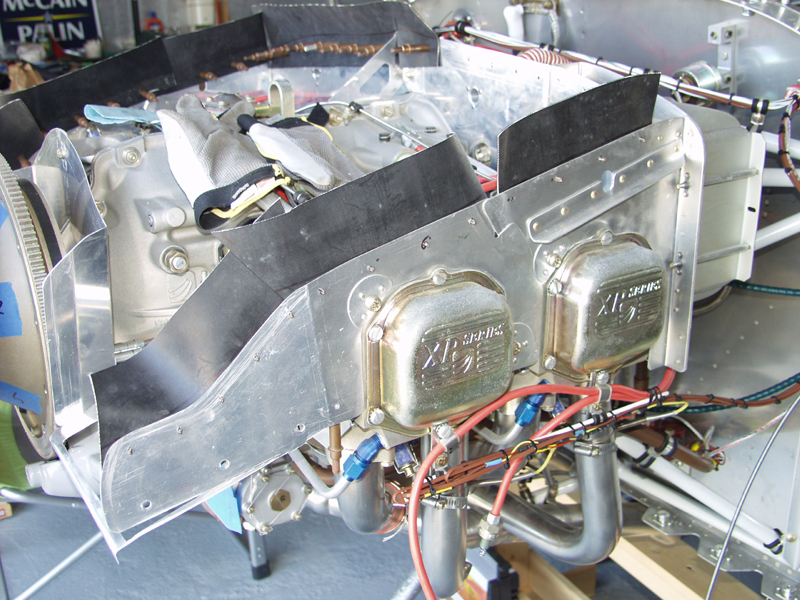
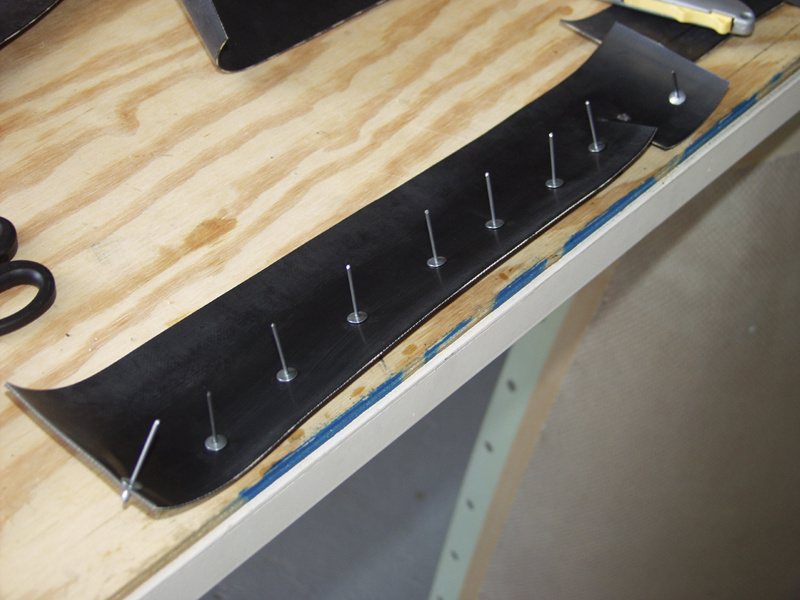
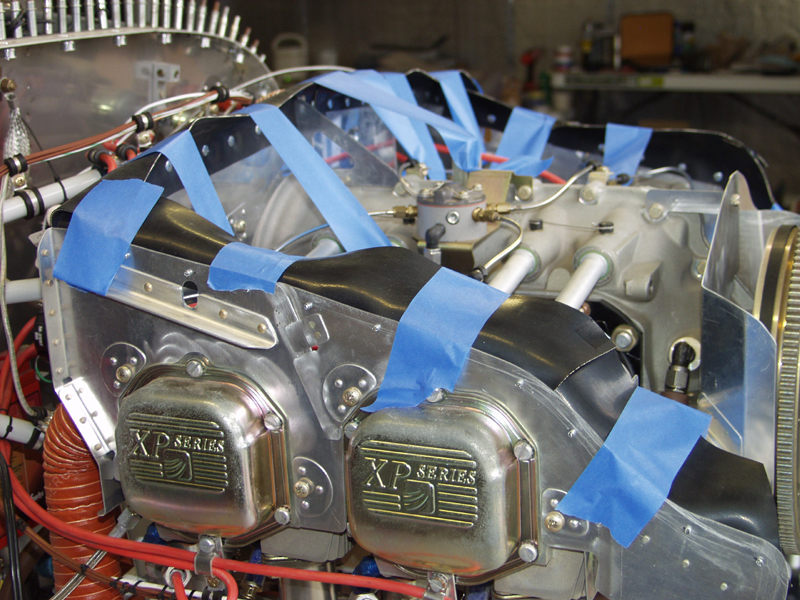
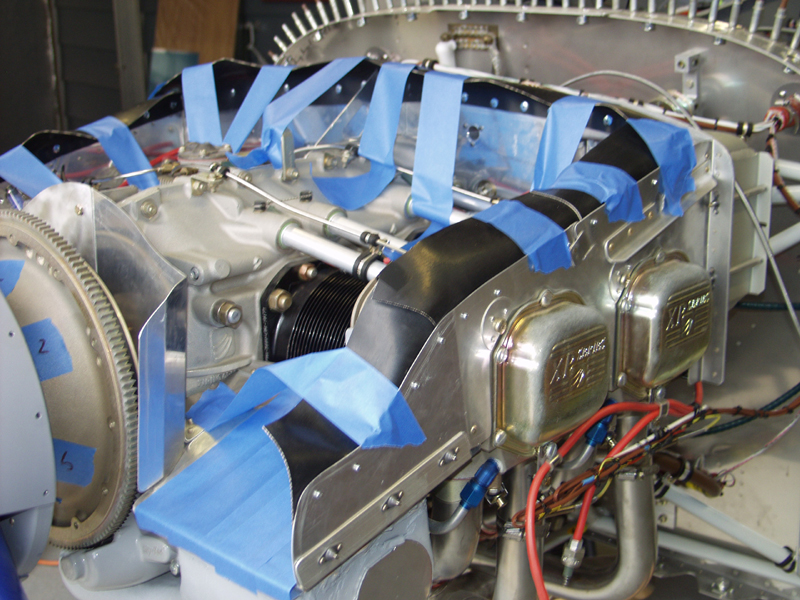
Next I started on the right hand side and cut 3 inch rubber strips. These strips get riveted in place with special large head rivets. The deal is to over lap each strip from the front to let the RAM air fill the area on top of the engine and build a RAM air chamber. You have to create the over laps to the rear so the incoming air creates the seal. I worked my way around clecoing as I went.
When I reached the front I removed the rubber pieces and removed the front ramps and did the final riveting. Then I reinstalled and started riveting all of the rubber seals in place. I worked around to the left side and then removed front ramp and repeated the process. Once you rivet these pieces in place its a real pain to put back in place. Kind of like building a puzzle. With that all complete I used masking tape to roll the rubber over to form the natural bends that will need to be in place to get a seal as I install the top cowl.
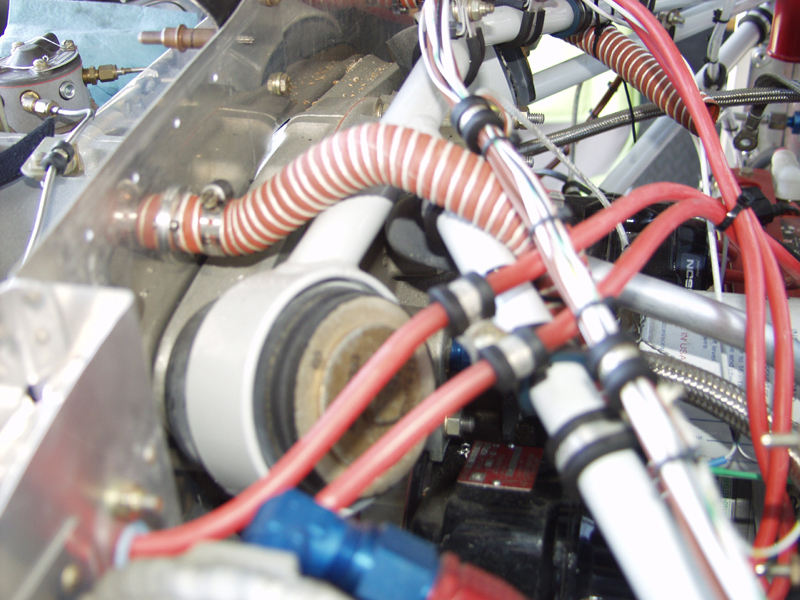
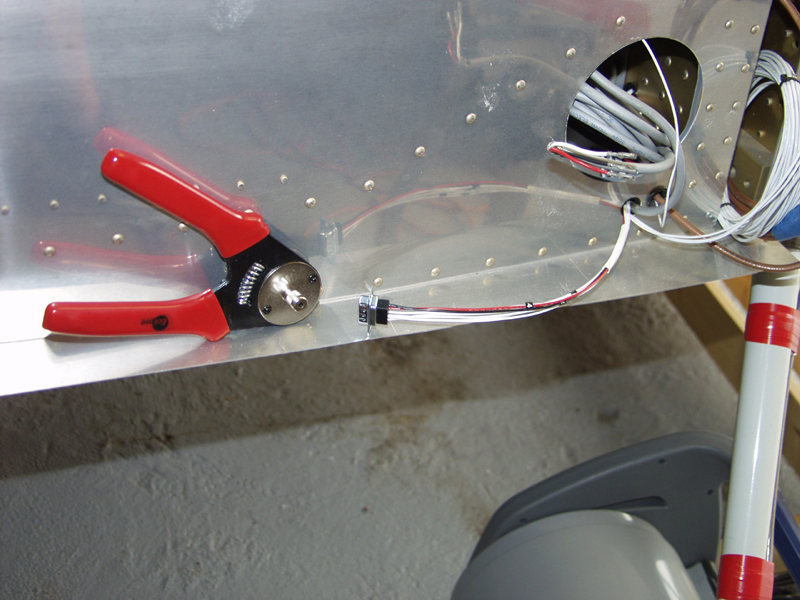
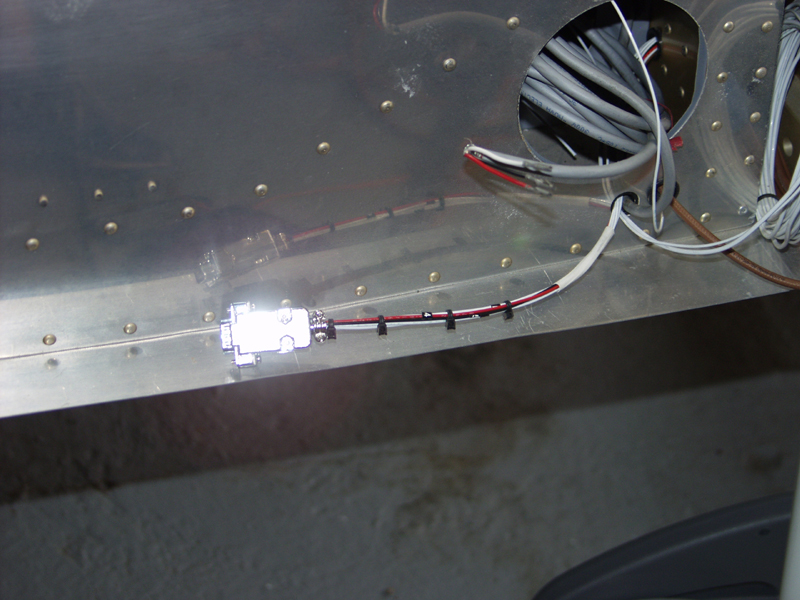
With that done I used safety wire to tie up the bottom cylinder covers. Its too tight in there to get any good pics. I tried making the threaded rods but that stainless rod was a bitch to tap the ends so I ended up doing the old fashion way. I don't really know why they even changed, I have seen so many done with the saftey wire. Next I pinned out the Trutrak harness to the wing root area for the autopilot servo.
Last was to install the valve cover gaskets and new valve covers. The old ones got some kind of corosion on it. The dang engine has never even been started and the one area that looks old was these so I picked up a set from EBAY. Jim K's idea. I will send the old ones off to be chromed some day. All I could find were the Millennium Series. O well huh. :)
This website was built to document my work in compliance with the FAA requirements
needed to certify my aircraft.
My experiences and comments are by no means to be
considered as instructions on how to build any aircraft.
|
| |